The 52 Project, Week 24: Ned
Today’s image means a lot of things to me, and I hope it shows. ^__^
 Despite the creative mess down there, somehow knows where everything is... 0__0
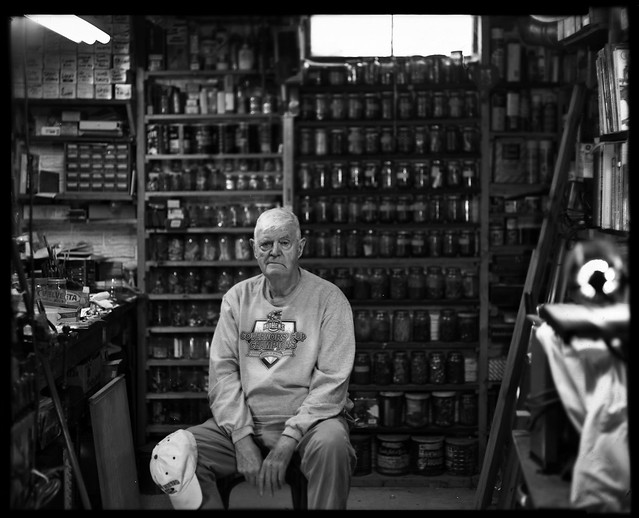
Meet John Edward Lenhart, affectionately known by everyone else as Ned, my grandfather. Born to a large family in the middle of The Great Depression, Ned’s lived through a lot of ups and downs. Recent years especially haven’t been kind to him. He’s had to tackle a stroke, learning to walk again, losing most of his left lung to cancer, and continuing a silent battle with skin cancer. But as you can see in front of you, not much gets in the way of him doing the things he loves, namely woodworking and baseball.
Since I’ve already captured his baseball loving side HERE, I thought I’d address his other love, in the heart of his basement workshop. Space was tight and light was terribly dim, but I did the best with what I was given, here are the details.
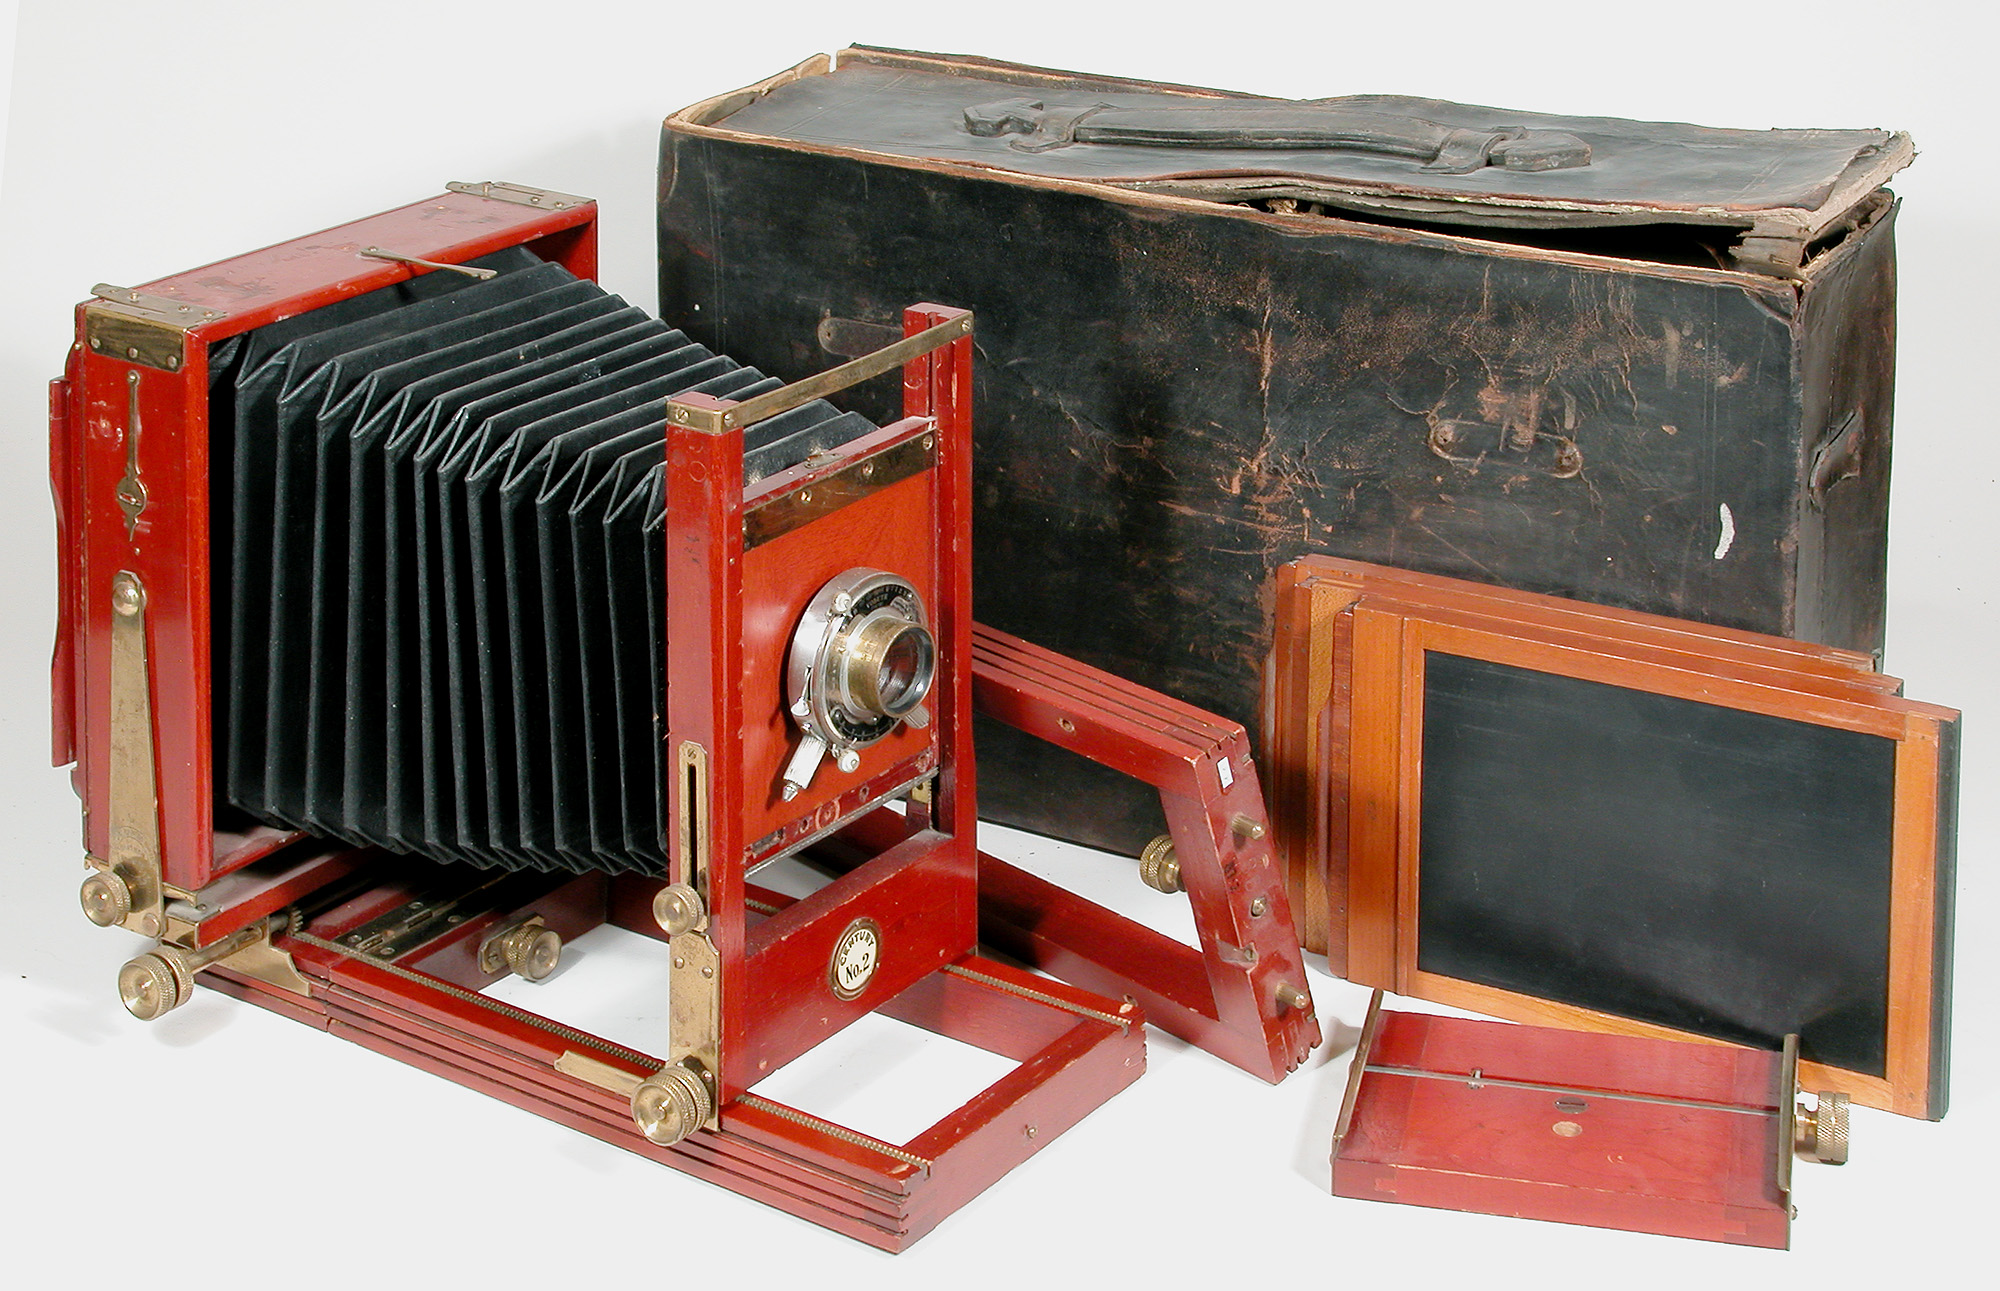
Early one Saturday afternoon at my grandparents’ house, I started to feel the urge to take a picture with the 8x10. And this day, it would be a special one, the day I would finally cave and take a proper portrait. So, as soon as my grandparents were down and out for their afternoon naps, I sprang into action. Grabbing the mass of equipment from the car, I rushed it down to Ned’s basement workshop to set up the entire shot, “Just add Ned”.
Framing up the shot was a little tight with a 50mm lens equivalent in space about the width and length of a college dorm, but I made the best of what time and space I had. Knowing my limitations, the shot was setup expecting about a half length, seated portrait. While focusing and metering the entire scene, I noted a difference in highlight to shadow values of approximately 18 stops! For you non-Zone System users out there, a normal scene has 6-7 stops difference. To say this was a high contrast scene was a gross understatement. Worse news, even wide open (a whopping f/9 on my lens), the Zone II/III shadows in my image were reading 30 seconds. I needed some major light here, and fast.
Luckily for me, I was in a workshop, home to some of the most cost-effective light sources known to man. Two shop lights and a flood-lamp flashlight later, I’ve got my key lights set up and aimed towards the chair that Ned would be sitting in. My exposure now is about 8-10 seconds on Zone V, meaning I needed to underexpose that two stops to Zone III, but then compensate for my bellows draw and movements. Let’s say 4.5 seconds (I did :p). Down came Ned, got set up, and we took the above shot.
Not too shabby eh?
Something Good: For a long exposure, Ned’s looking pretty sharp, and nicely isolated from the surrounding workshop clutter.
Something Bad: The negative itself is a little thin, even for having soooooo much dynamic range. It could have handled another minute or two sloshing in the tray. Live and learn.
Something Learned: Give your subject no excuses to get out of the picture, aka having it all ready for them, and they’ll usually agree to the portrait. On the technical side of things, I learned having a wide SBR, subject brightness range, can be tricky when printing on silver papers; more on that sore subject in later weeks.
Next Week: The 8x10 hits the road on a two week end-of-fall vacation, who knows where it’ll end up!
 Mat Marrash