Ok guys, usually I'm pretty adamant about whatever system I use when processing film. Up until this past week, 8x10 film had always been processing in trays, sloshing a stack of sheets for a pre-determined amount of time. Now that x-ray film has entered the field of play, the entire game has changed! Where tray processing modern film emuslions such as Ilford HP5+ and Kodak Tri-X could afford me processing loads of up to 8 sheets, x-ray film slowed things down to a meager 1-2 sheets at a time. In turn, this lead to uneven development, inconsistent processing, and a whole lot of wasted developer. None of these things are good, to be expected, or something I can live with.
Little did I know, the most simple, elegant solution for my problem had been invented well over 50 years ago! 8x10 film hangers and tanks; those stainless steel, chemistry devouring film hangers and processing tanks were designed with thinner based, orthochromatic films in mind. Simply load the x-ray film under red safelight, place film into pre-soak for 5 minutes, semi-stand process for best compensating effect and acutance, and reap the benefits! At the moment, I'm without a stainless steel drying rack, but since the Pyrocat HD developer further tans and hardens the double-sided emulsion, after final washing, I remove the film to photo-flo and dry it in a cabinet.
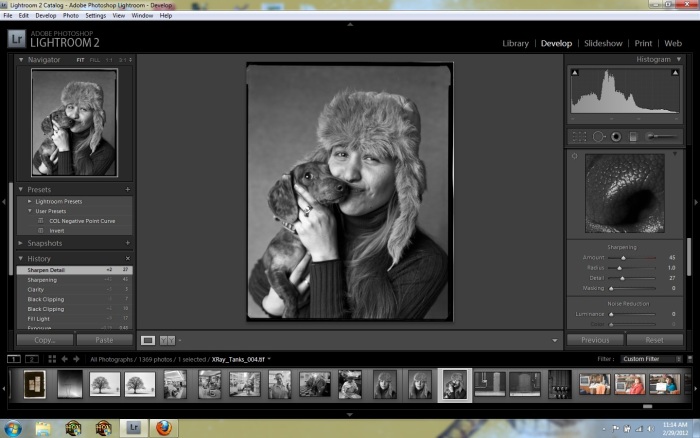
So how are the results? There's still a little bit of the backlog to be uploaded to Flickr, but for now, here's a sneak peek at the works in progress.

Stay tuned for more updates on X-Ray film, B&W processing, YouTube videos, and more!
 Saturday, March 3, 2012 at 11:53AM
  Shot on X-Ray film, so the only silver gelatin prints available at this time are 8x10 contact prints. See below for details.
 fields,
  findlay,
  hancock county,
  inkjet,
  northwest ohio,
  ohio,
ohio,  print,
  print sale,
  silver gelatin,
  snowy in
  Photography,
  fine art

